
React is a JavaScript library primarily developed by Facebook that is used to build user interfaces. It has shown exponential growth in the last few years, and it’s currently supported by a large community of developers and designers. This post is just a quick guide to start a React project from scratch. It’s always a good idea to read the official documentation to have a better understanding of how the framework works and how to use it at its full potential.
Initialize React
There are several ways to create a project with React but we will use one of the easiest ones. It will save us time and it will take care of the initial configuration. Assuming npm is already installed, let’s run npx in the directory where you want to start the project:
npx create-react-app my-appThis will create a directory with the name of the app with all the files in it. At this point it’s possible to start a local web server in http://localhost:3000/.
To see if the code runs locally run the following command:
npm startAfter verifying that the base project is functional, it’s possible to start adding features and libraries that will help with the development process.
TypeScript
https://www.typescriptlang.org/
Typescript will allow to you to create a better app and make the code much more solid. Initially it can increase the difficulty but this library will be helpful to avoid many issues during development. The benefits are multiple but just having typed functions and increased code readability are already worth it.
Installing Typescript is as simple as running an npm command in the root of the project:
npm install --save typescriptIn addition to this, we will need to specify the type definitions of all the libraries that we will install later. For that let’s add a @types/ as a prefix:
npm install --save-dev @types/react @types/react-domHere we are adding all the react and react-dom declaration files (previously installed with create-react-app) and by adding the --save-dev parameter we make sure that they are only installed as dev dependencies.
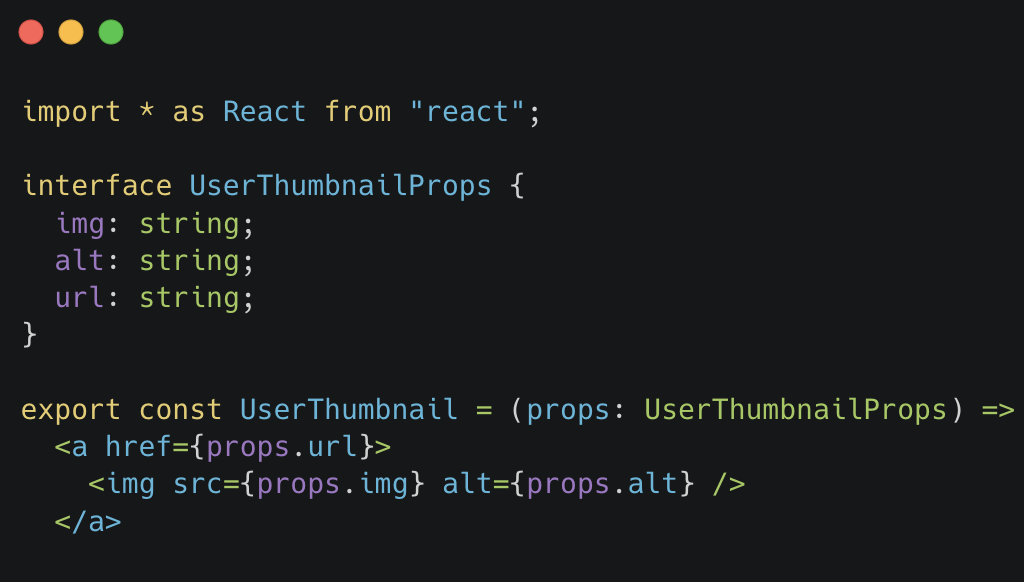
Now it’s time to change all the .js files to .tsx. Any errors found in the .tsx files are typical of typescript and will need to be addressed in order to run the project.
ESLint
A linter is just a library that analyzes your code without executing it and helps you improve it. It’s used in many types of development projects and it helps to avoid common errors, bugs and bad practices.
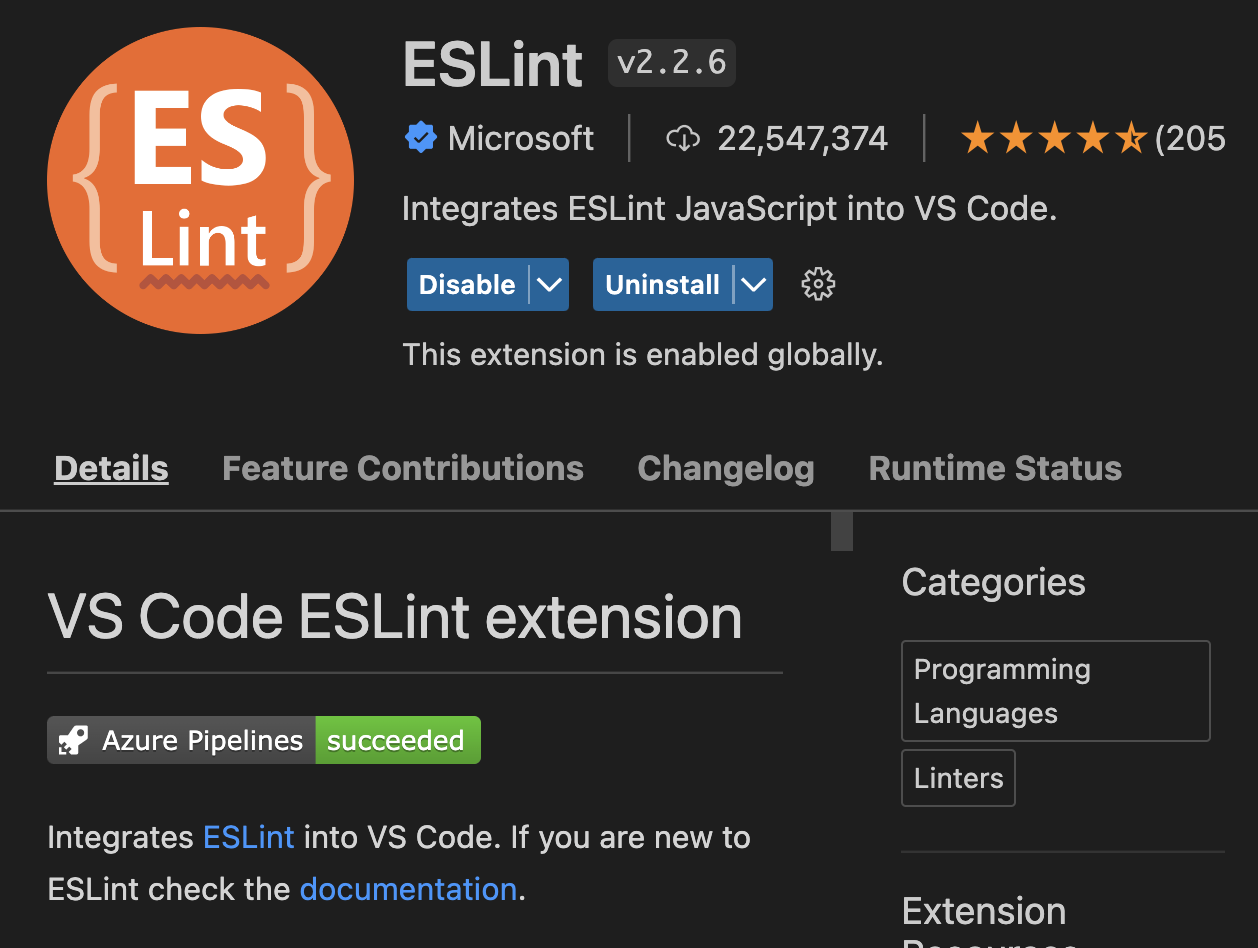
ESLint is an open source tool that will provide you with what you need to keep the project’s code clean. To install it, run the following line in the root of the project:
npm install --save-dev eslint @typescript-eslint/parser @typescript-eslint/eslint-pluginTo setup ESlint with the right settings we will create an .eslintrc file on the root directory of the project. This settings will change as the project grows but this should be a good starting point:
{
    "parser": "@typescript-eslint/parser",
    "extends": [
        "plugin:react/recommended",
        "plugin:@typescript-eslint/recommended",
        "prettier/@typescript-eslint",
        "plugin:prettier/recommended"
    ],
    "parserOptions": {
        "ecmaVersion": 2018,
        "sourceType": "module",
        "ecmaFeatures": {
            "jsx": true
        }
    },
    "rules": {
        "no-console": "error",
        "@typescript-eslint/explicit-function-return-type": "off"
    },
    "settings": {
        "react": {
            "version": "detect"
        }
    }
}
Notice that we have added some prettier validations which we will discuss later.
Let’s also add an ignore file called .eslintignore that will let you exclude files from the linter, like the node modules directory: **/node_modules
It might also be a good idea to install an ESLint extension for your IDE to help during code editing.
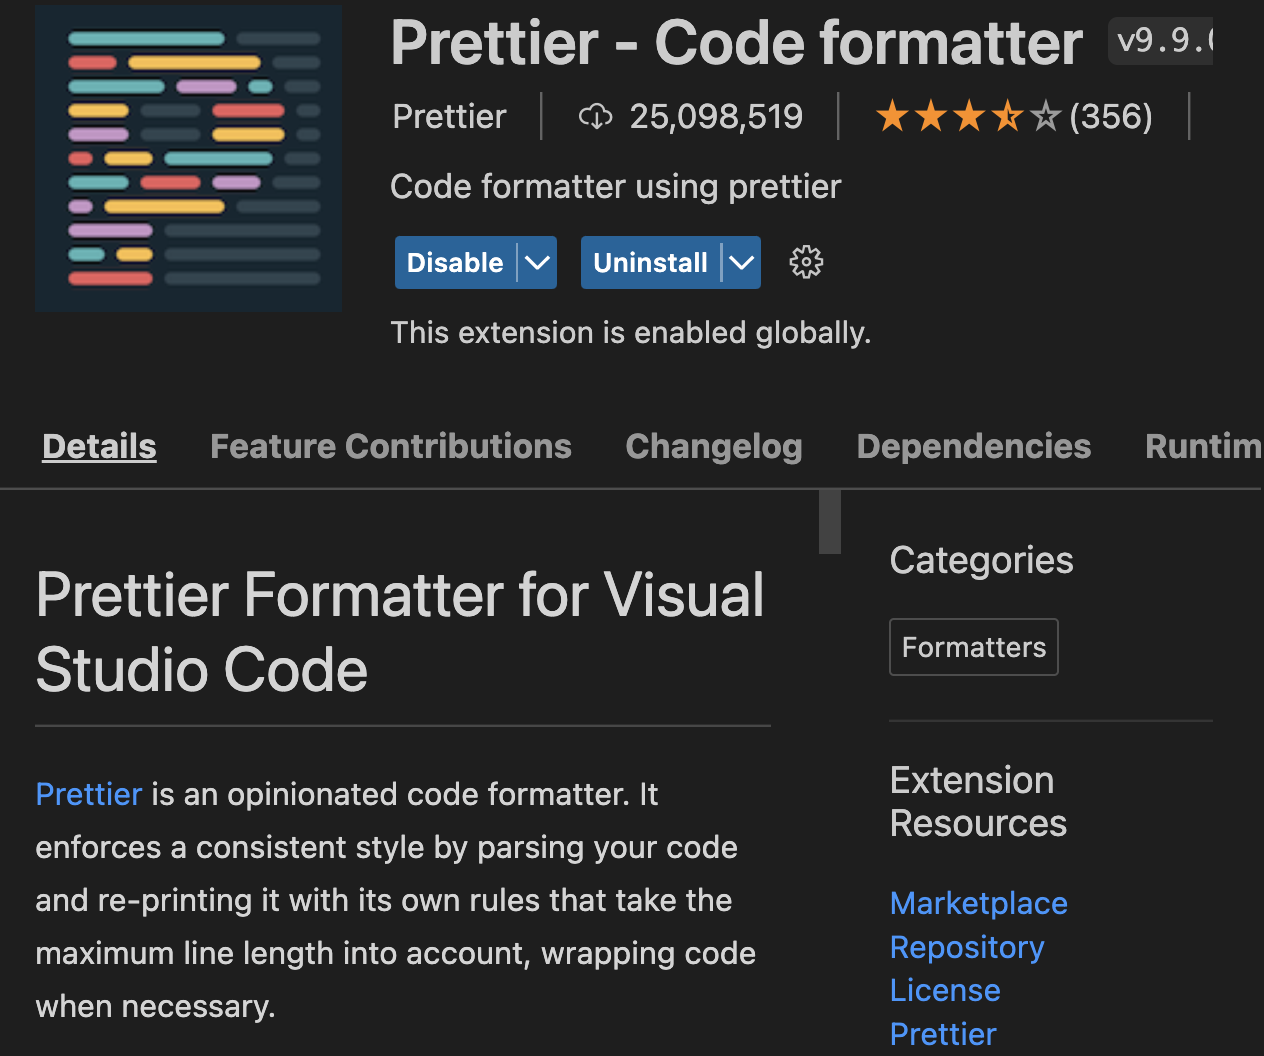
Prettier
This tool allows you to format your code automatically and consistently. By adding basic rules in the prettier configuration you can ensure that you keep coding standards throughout the project:
npm install --save-dev prettier eslint-config-prettier eslint-plugin-prettierAs with the linter, it’s important to install an extension for your IDE to help you fix issues at the same time you are working in the code.
Styled Components
There are great alternatives in the market to manage the styles within a React project (Sass, Less, Emotion, stylus, etc.). The choice depends entirely on the direction of your project, the structure you choose and how your development process looks like. In this case we will opt for the Styled Components library.
It implements a different technique called CSS-in-JS which offers some visible advantages. One difference is that instead of using plain CSS, you can use props within the styles. This allows managing the CSS of a component outside of it, and avoid the use of conditionals in the code to modify the styles.
Other benefits of styled-components are themes, server-side rendering and adding Jest to test components. To install let’s run an npm command like before:
npm install --save styled-componentsStory Book
Clear and updated documentation is fundamental to any project.
Storybook is a user interface development environment and playground for UI components.
Storybook can be used outside of the main project and it will allow you to create components independently. This provides great autonomy when developing and with other powerful options that it offers, you can generate very detailed documentation for all the UI elements of the project.
https://storybook.js.org/docs/basics/introduction/
To install it, run the following command in the root of the project:
npx -p @storybook/cli sb initThis will generat a directory called .storybook with two .js files inside:
- addons.js: This file registers the addons for the project.
- config.js: this file contains the settings needed to run storybook.
There will also be a new directory called stories that contains an index.js with the list of all the project stories.
Conclusion
The libraries discussed here are the most commonly used in React projects but there are plenty of other great tools available online. Hopefully this will be a helpful quick-start guide for beginner and advanced developers alike.